Trending Now
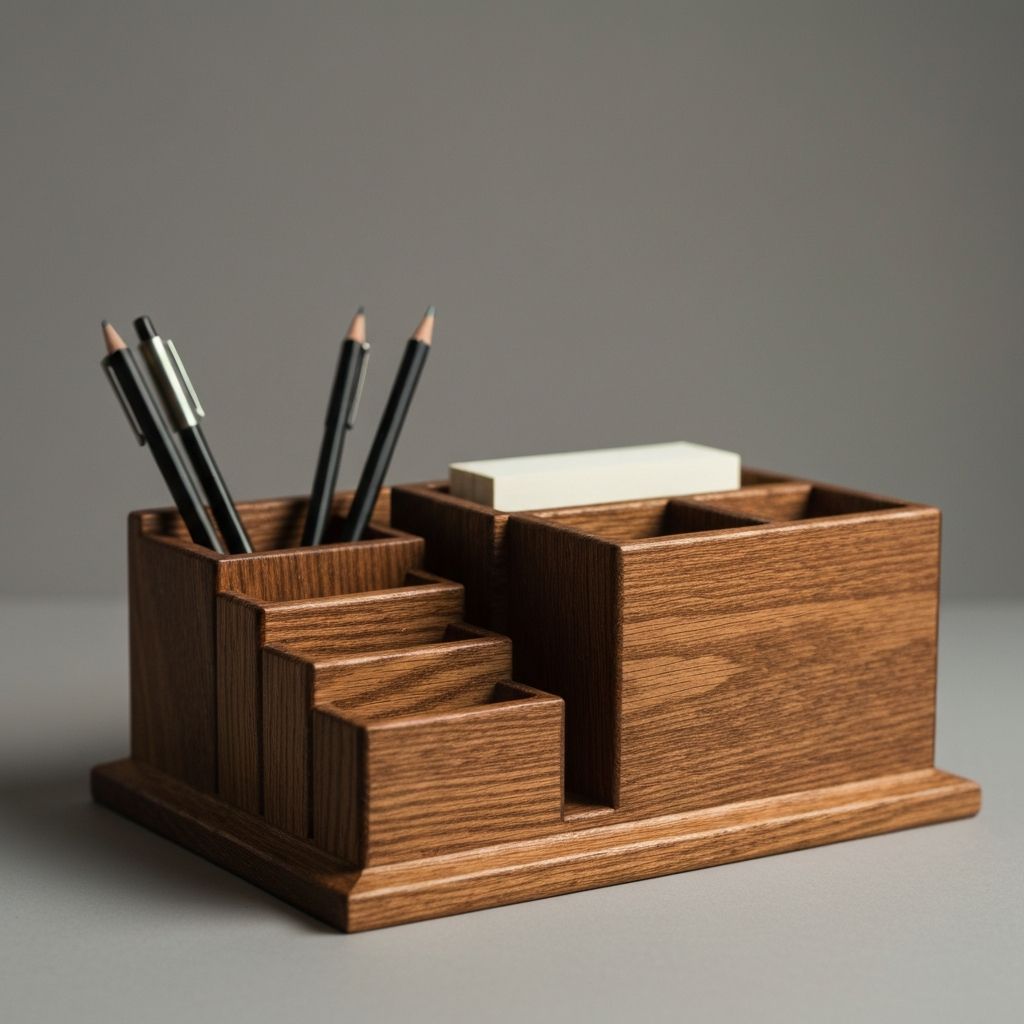
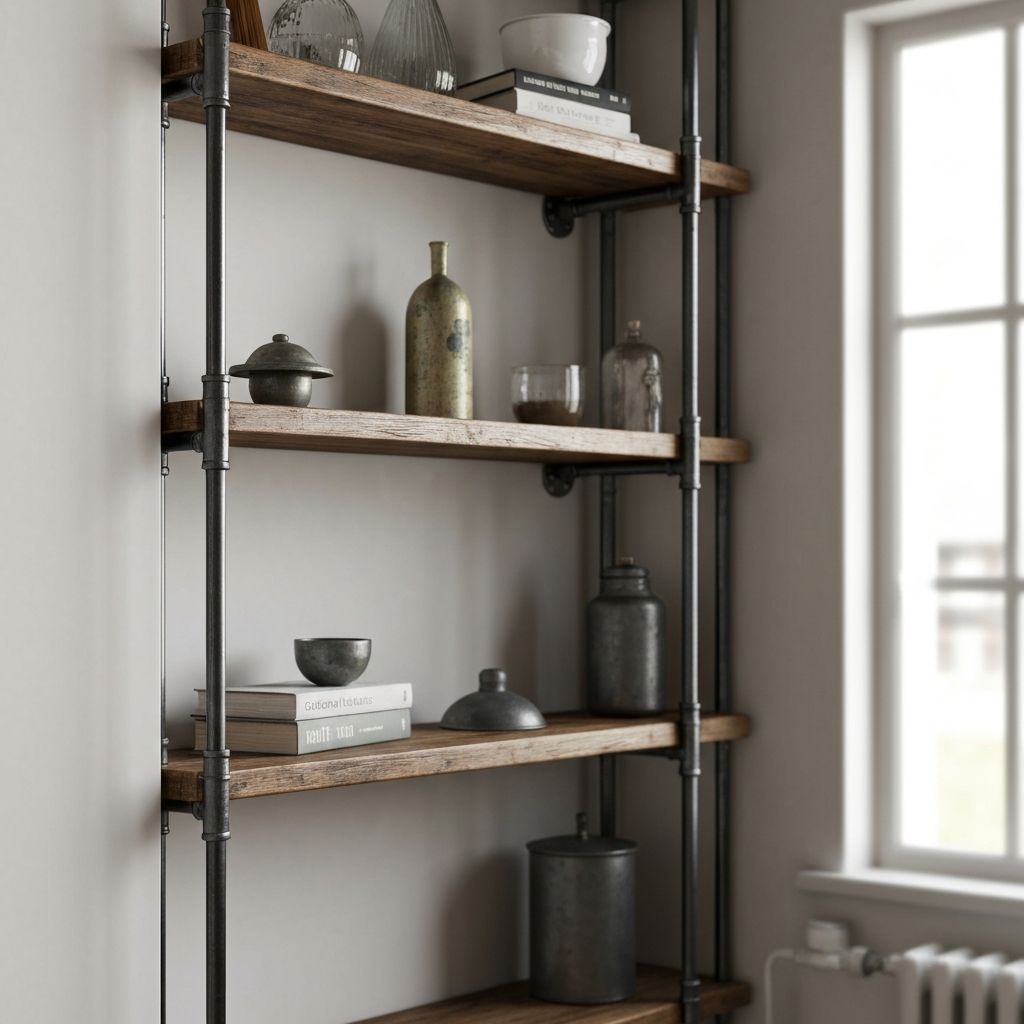
Featured Projects
Handpicked projects from our creative community

Explore by Category
Find the perfect project for your interests and skill level
Latest from the Blog
Tips, inspiration, and guides to fuel your creativity

Tips & Guides
10 Essential Tools Every DIY Beginner Should Own
Starting your DIY journey? Here are the must-have tools that will help you tackle any project with confidence.
Sarah Mitchell
Dec 10, 2024
Inspiration
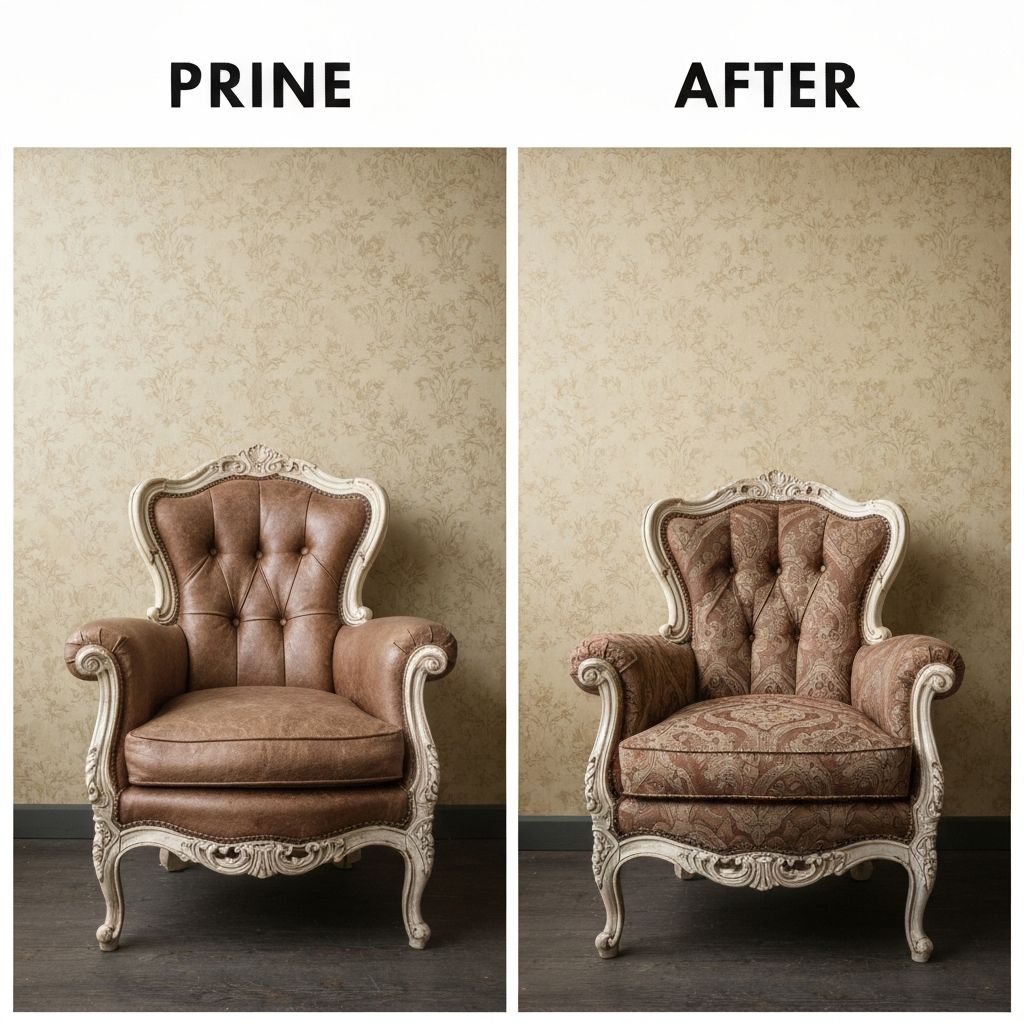
Upcycling Old Furniture: Before & After Ideas
Transform vintage finds into stunning pieces with these creative upcycling techniques and inspiring transformations.
Mike Johnson
Dec 8, 2024
Organization
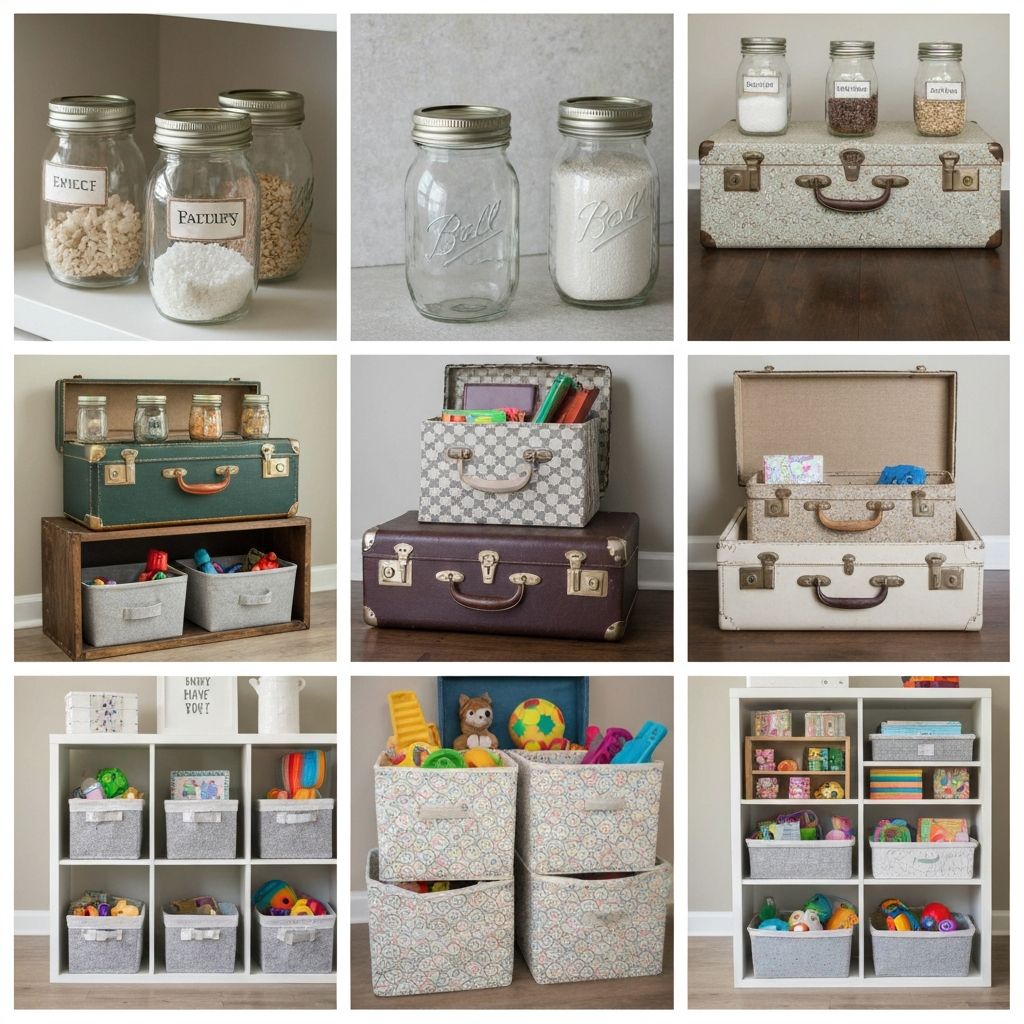
Budget-Friendly Home Organization Hacks
Get organized without breaking the bank! Discover clever storage solutions using everyday materials.
Emma Davis
Dec 5, 2024
Home Decor
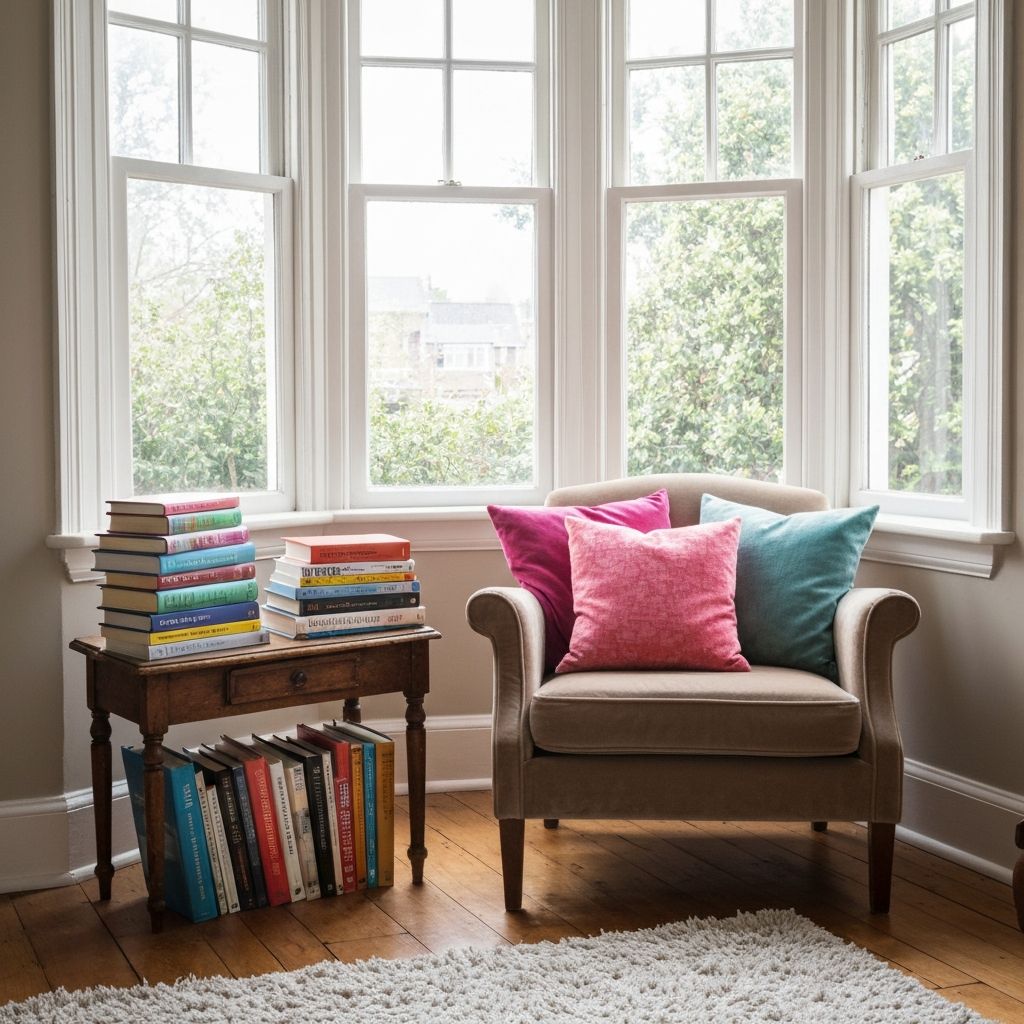
Creating a Cozy Reading Nook in Any Space
Learn how to design the perfect reading corner with comfortable seating, lighting, and personal touches.
David Lee
Dec 3, 2024
Get DIY Inspiration Weekly
Join 10,000+ makers receiving curated project ideas, expert tips, and exclusive tutorials delivered to your inbox.
No spam. Unsubscribe anytime.